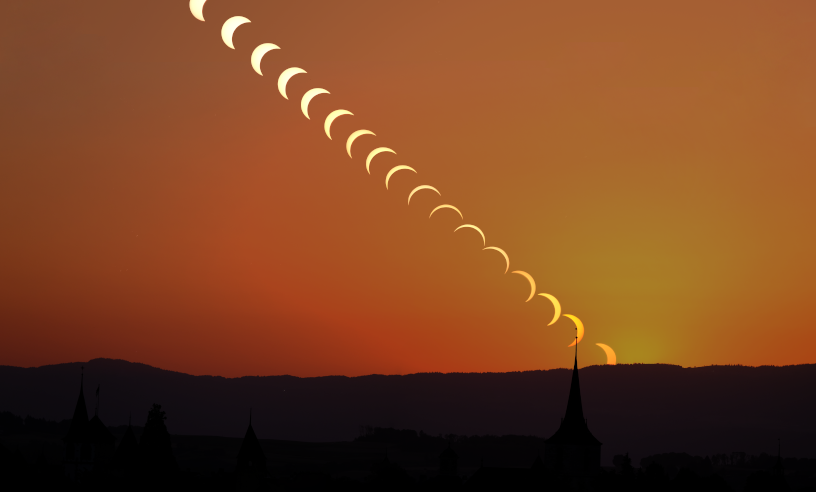
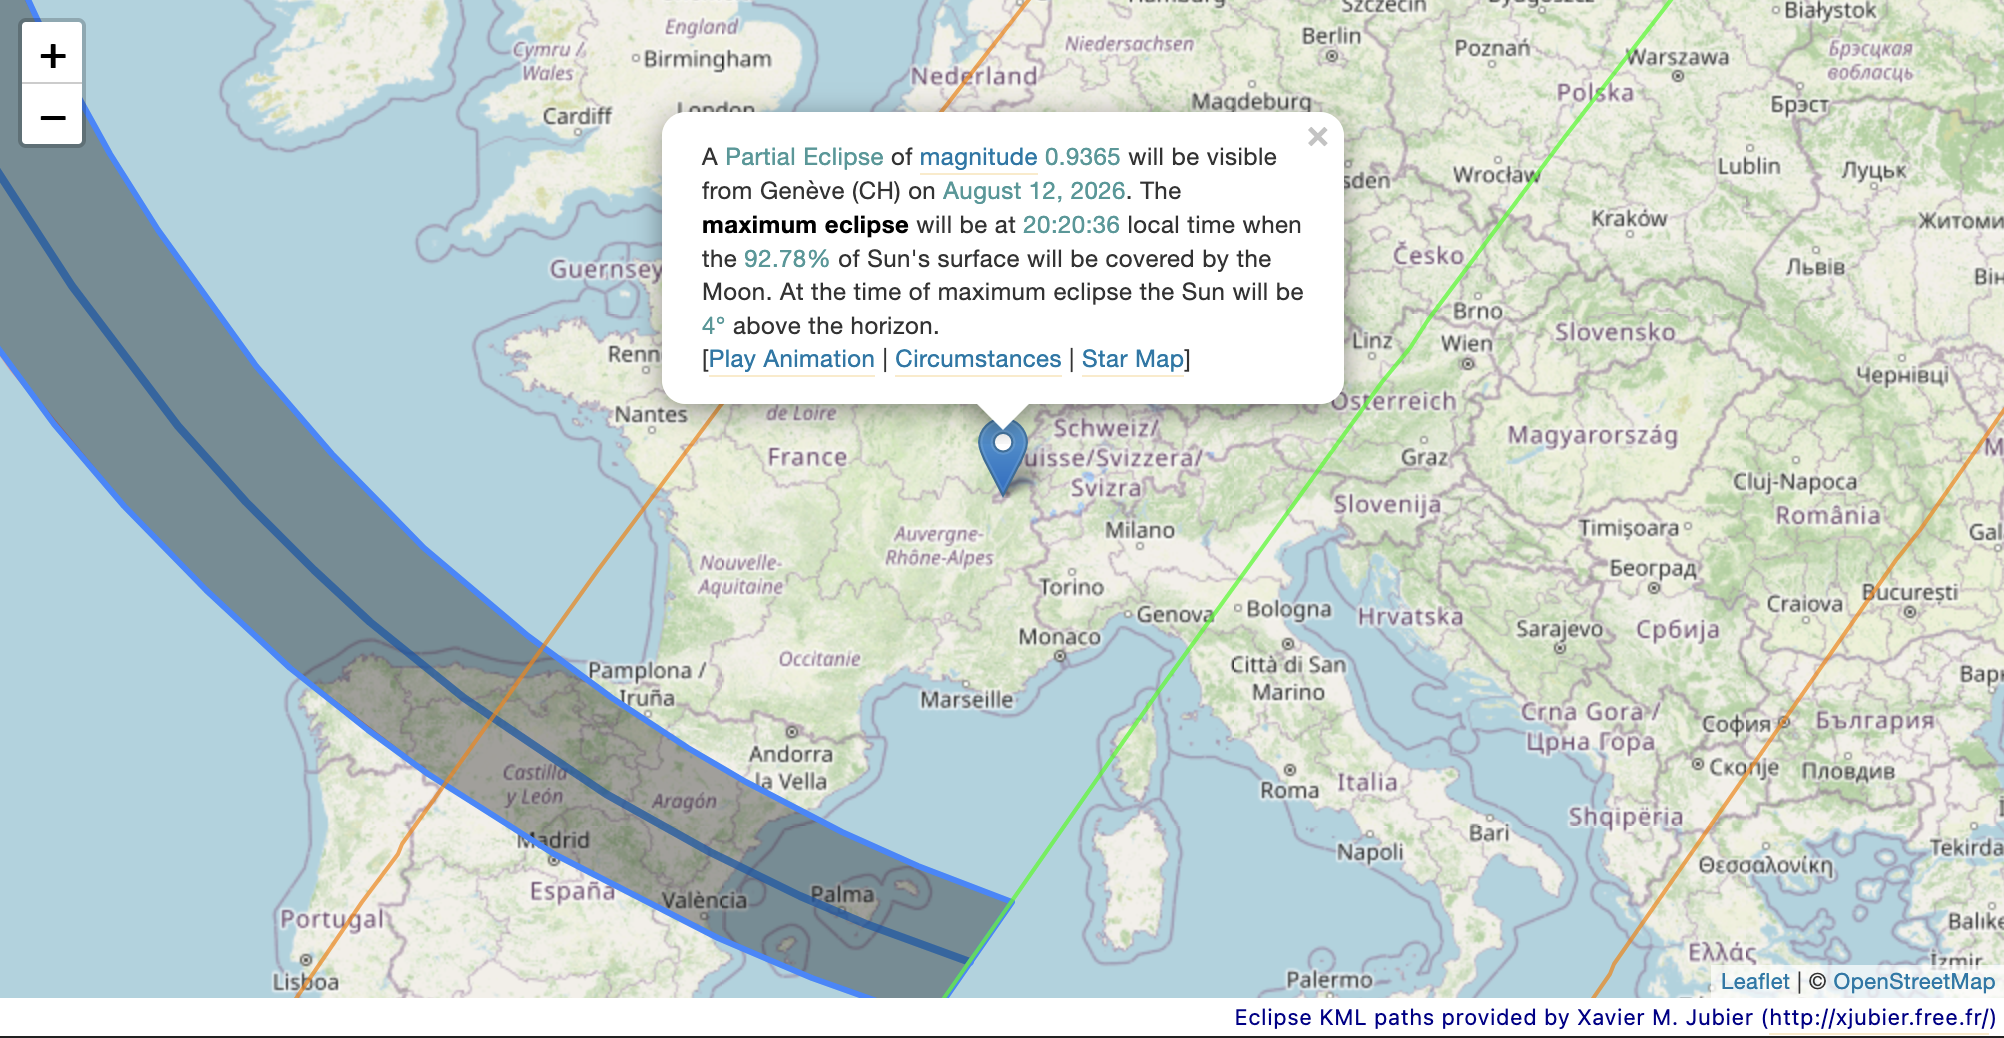
Unless you are living under a rock, you are aware that there is an eclipse next week, the 12 august evening, visible in part of western Europe. I decided to stay in Neuchâtel to observe the eclipse. At the maximum, the moon will cover 92% of the sun here, not too bad. Plus the fact that it will occur just above the horizon will make for a nice picture opportunity.
Finding a good spot was a mess. The event happens just at the horizon and the Jura mountain, despite being small, are still too high and if I stay in Neuchatel itself, I would not be able to see the maximum. I could maybe take a dramatic picture of the sun above a landmark just before the maximum.... It could work. Or I can go a little further away and see the maximum with maybe a glimpse of the city? We'll see what I decide next week.
But not so fast! I do not take pictures of the sun often so I don't have a solar filter available for my camera. Fortunately... I have a few general optical neutral densities from Thorlabs that I was going to use for another project in my stuff. A bunch a ND1, ND2 and ND3 that I can combine. Only problem is that those filters are 1" in diameter, and my objective is 80mm diameter... What to do?
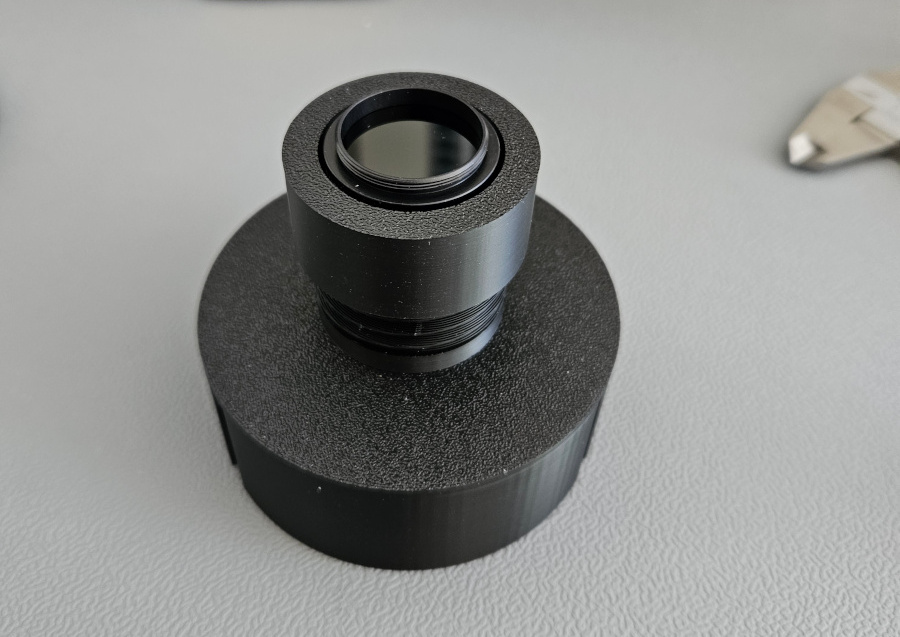
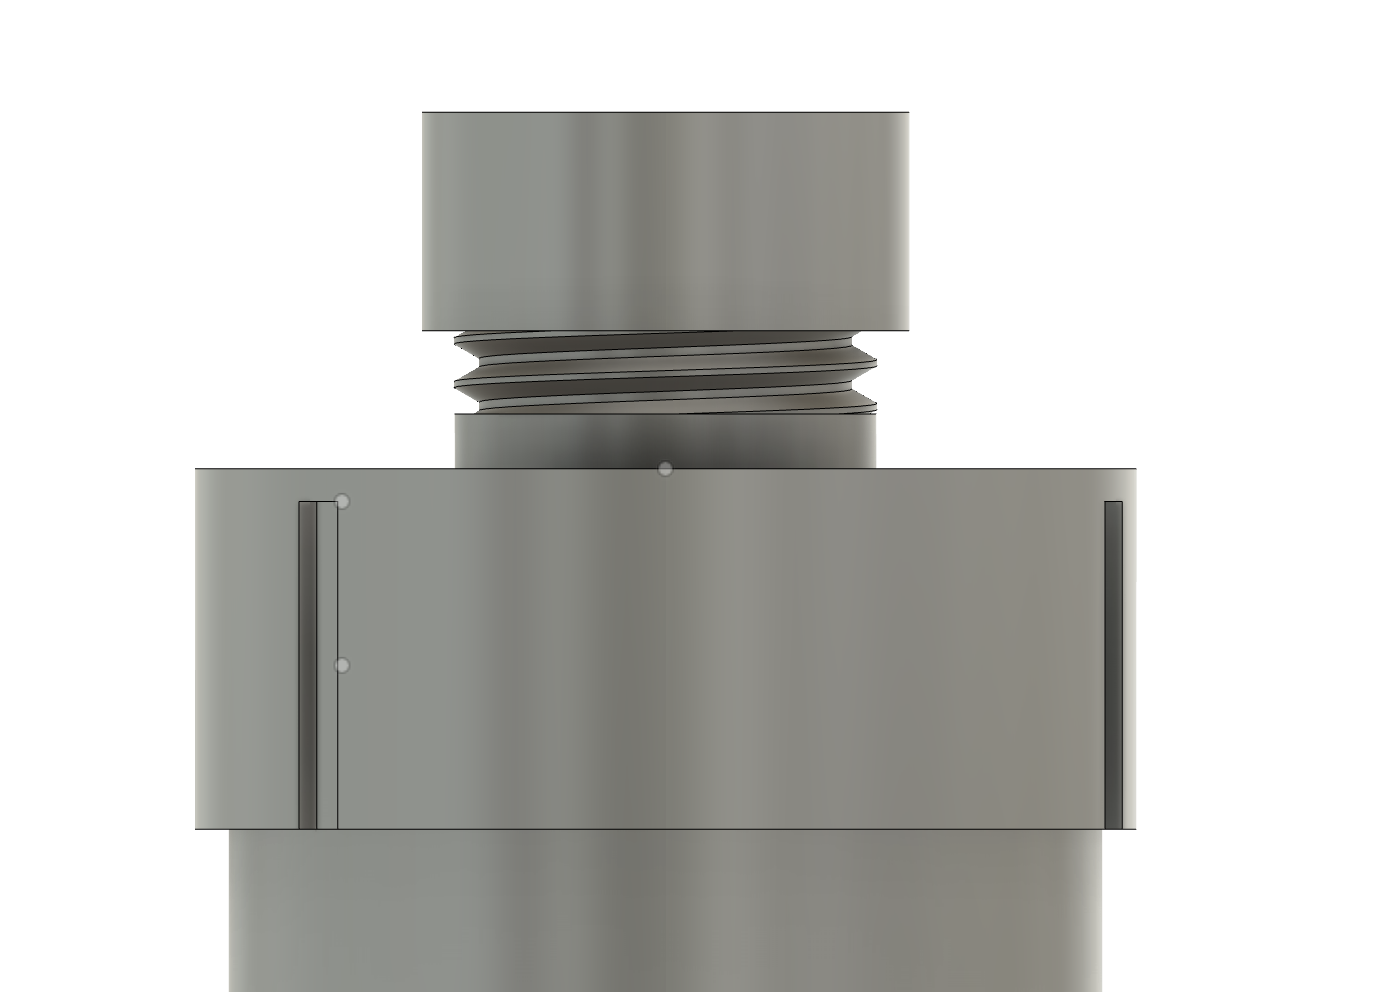
Ah, but here comes my 3D printer to the rescue. I knew it would be a good investment when I got it last year. Some time modeling the objective outlines in Fusion360, making a small device that clamps to the objective ridges, and that can accept the filter with a snuggly fit, and here we go. I also decided to add a security in case I tilt the objective too far and the filter may fall over, so this is also the first time I do threads with the 3D printer. And I have to say, it is actually pretty simple! But the next time, I might add a little more wiggle room between the two pieces, I decided to go real flush, with the same diameter on the outer piece and the inner piece, hopping the threading algo from Fusion360 would add a small room between both pieces. I actually checked and it does add a little something, but this is at the limit I would say, for my printer.
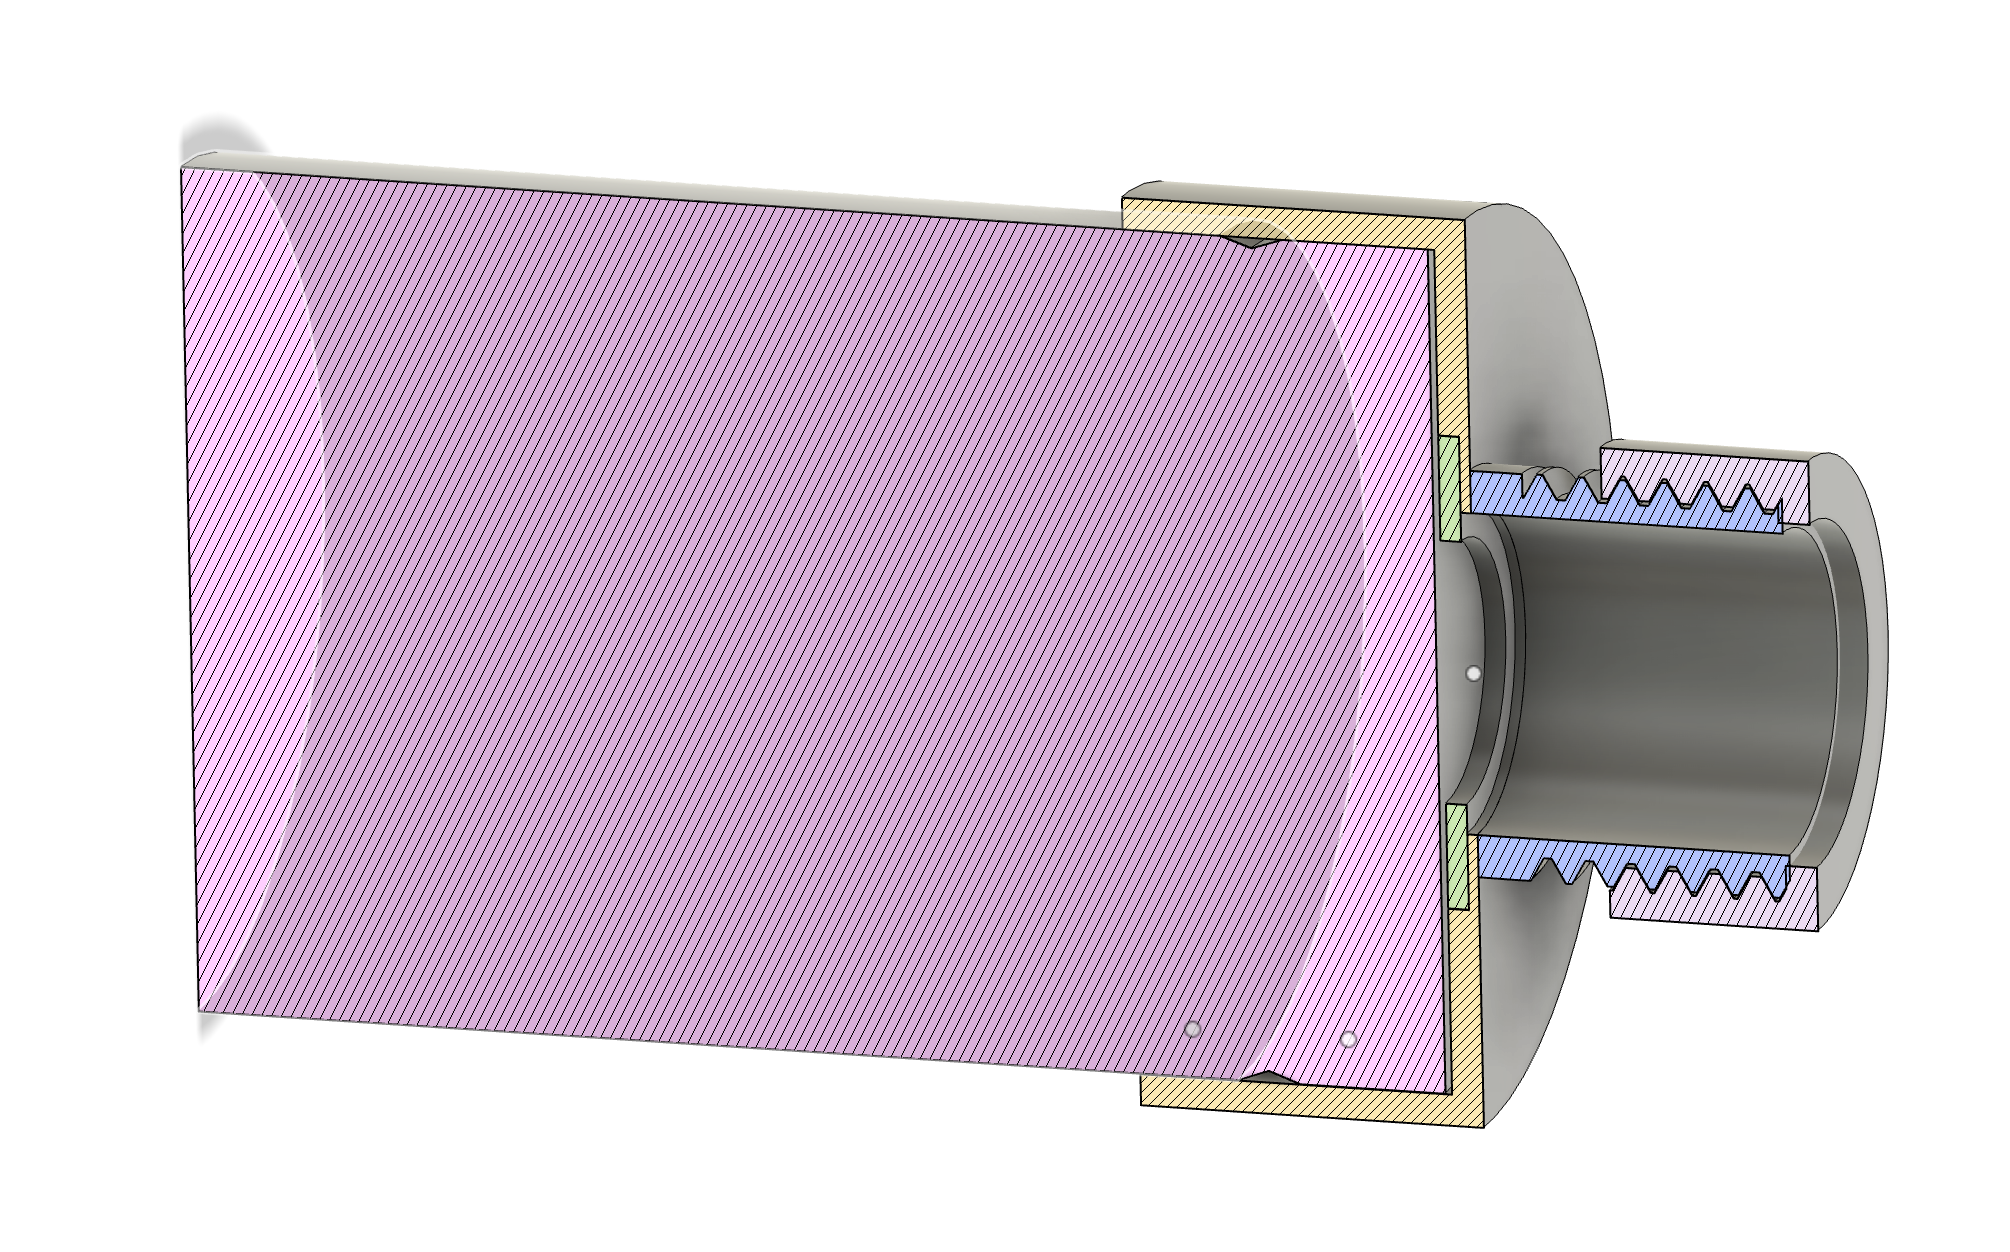
The print was done in Basic PLA, with rigid walls done at 3mm thick and 3 flexible ones at 1mm so that it clamps to a little ridge on the objective and doesn't fall accidentally. I didn't want to waste too much time designing interlocking mechanisms to bridge the pieces together, so I used simple superglue, it seems to do the trick. 2h later and 51g of filament, and here I have the finish product.
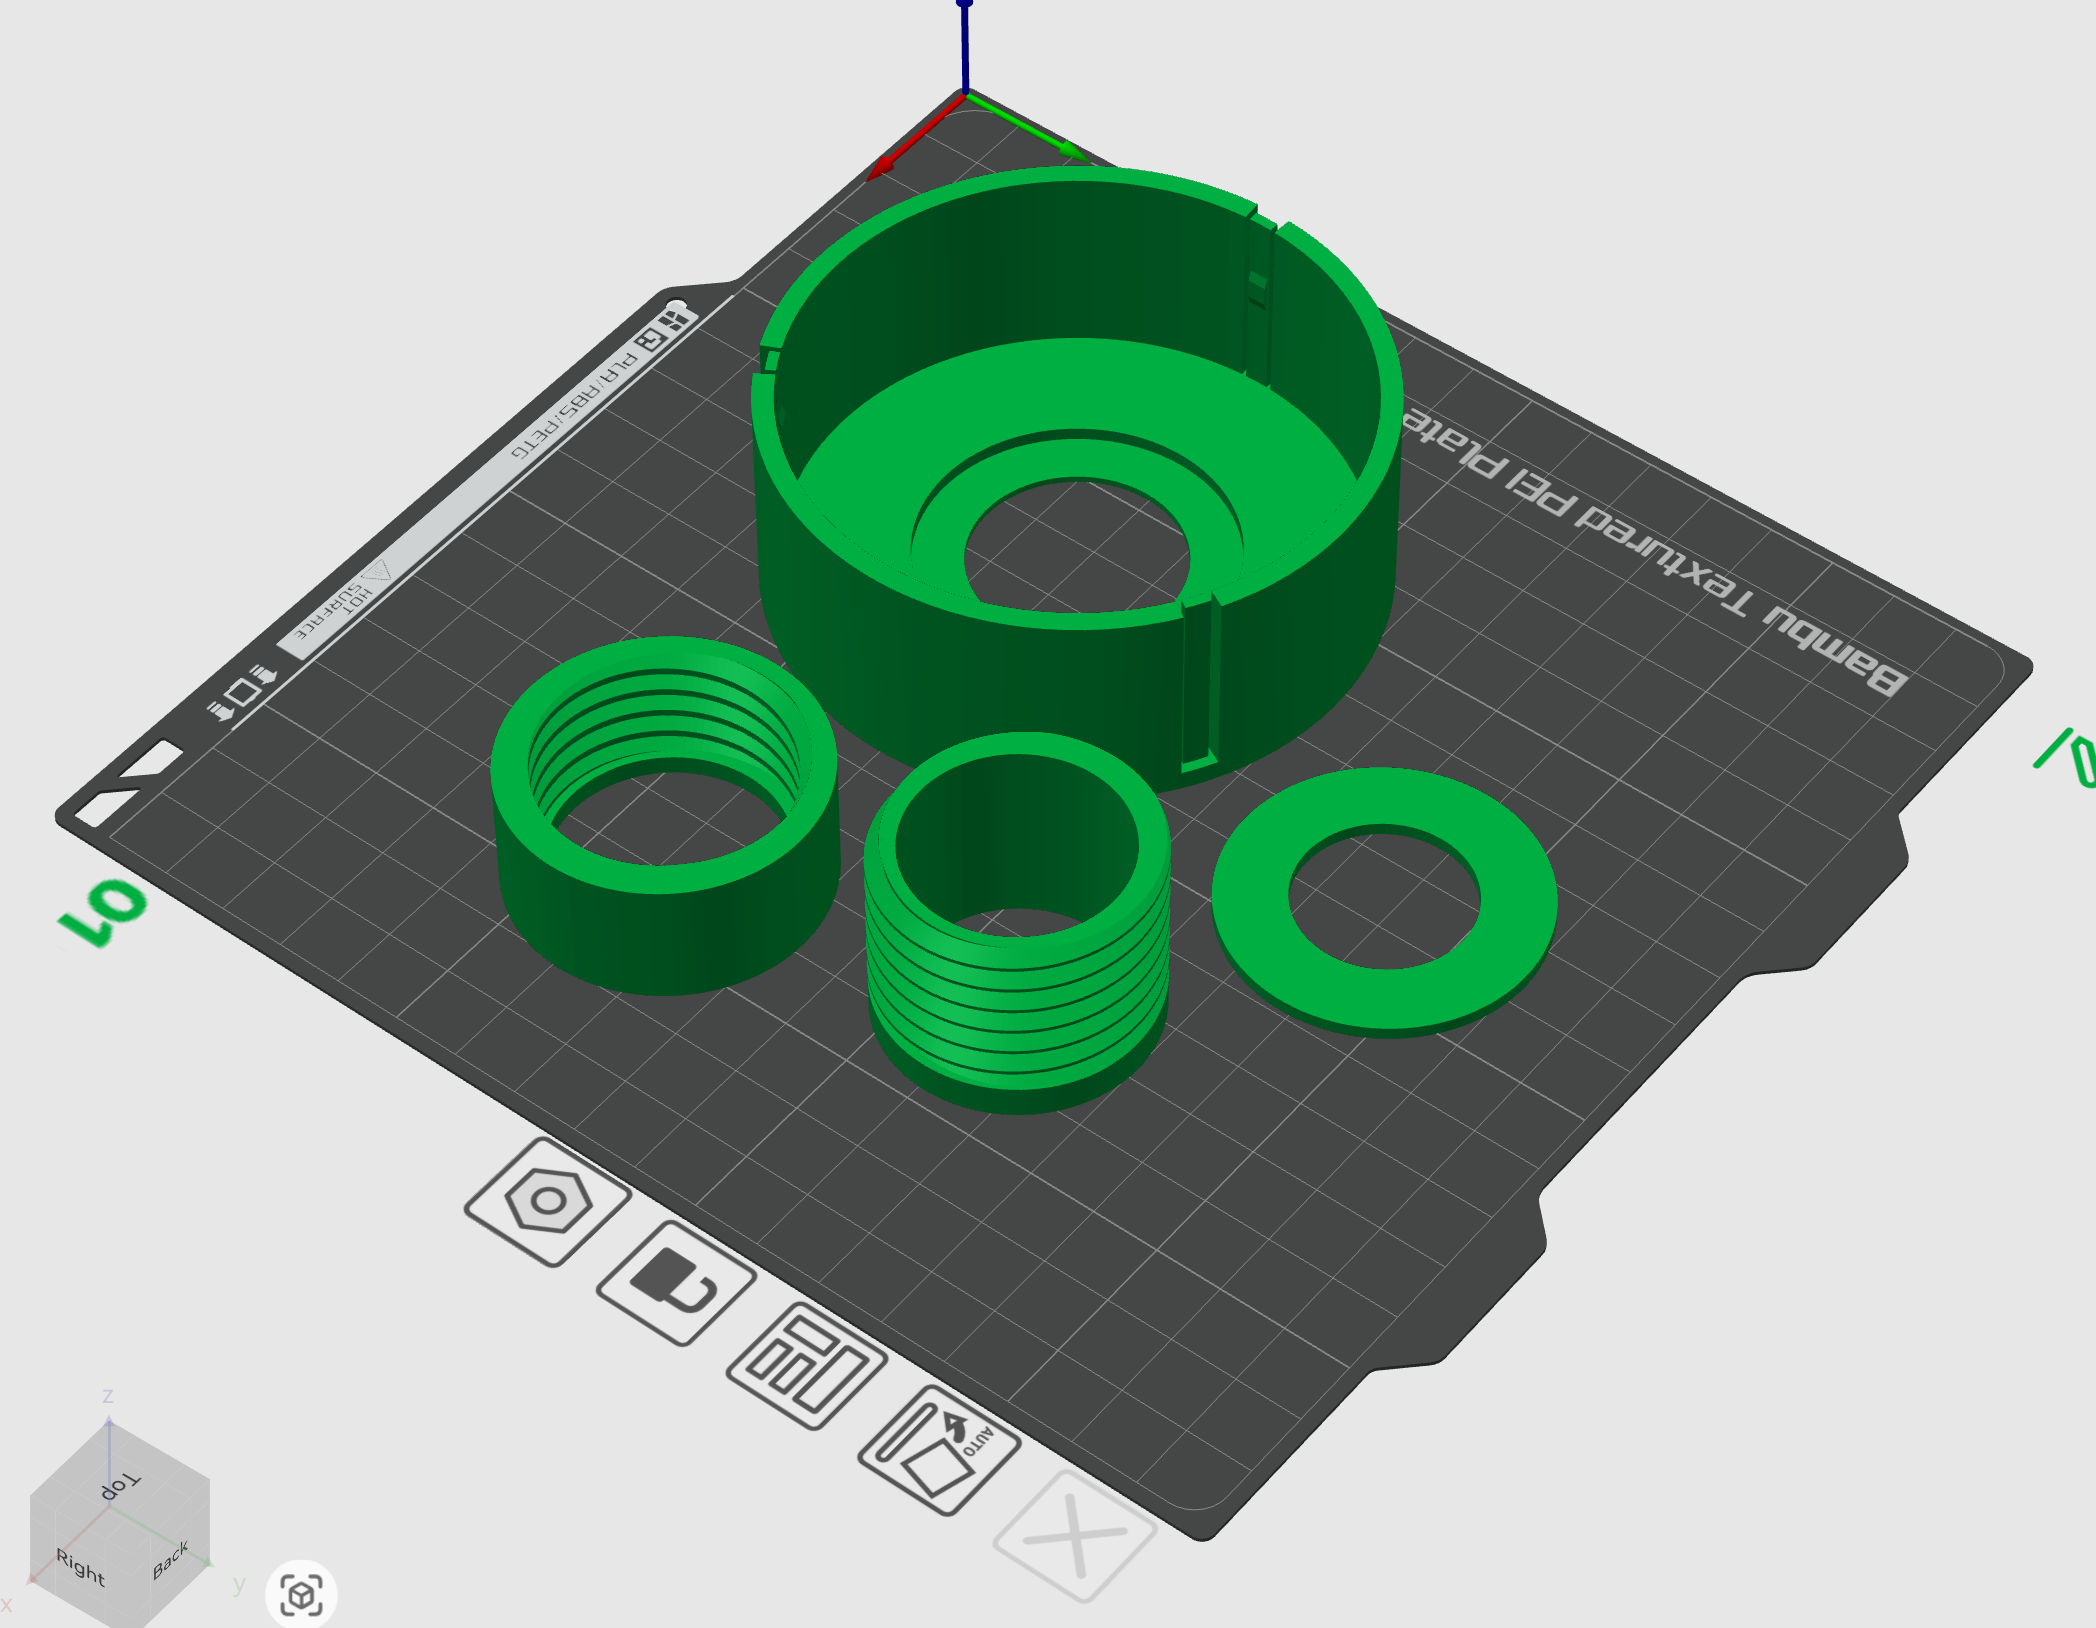
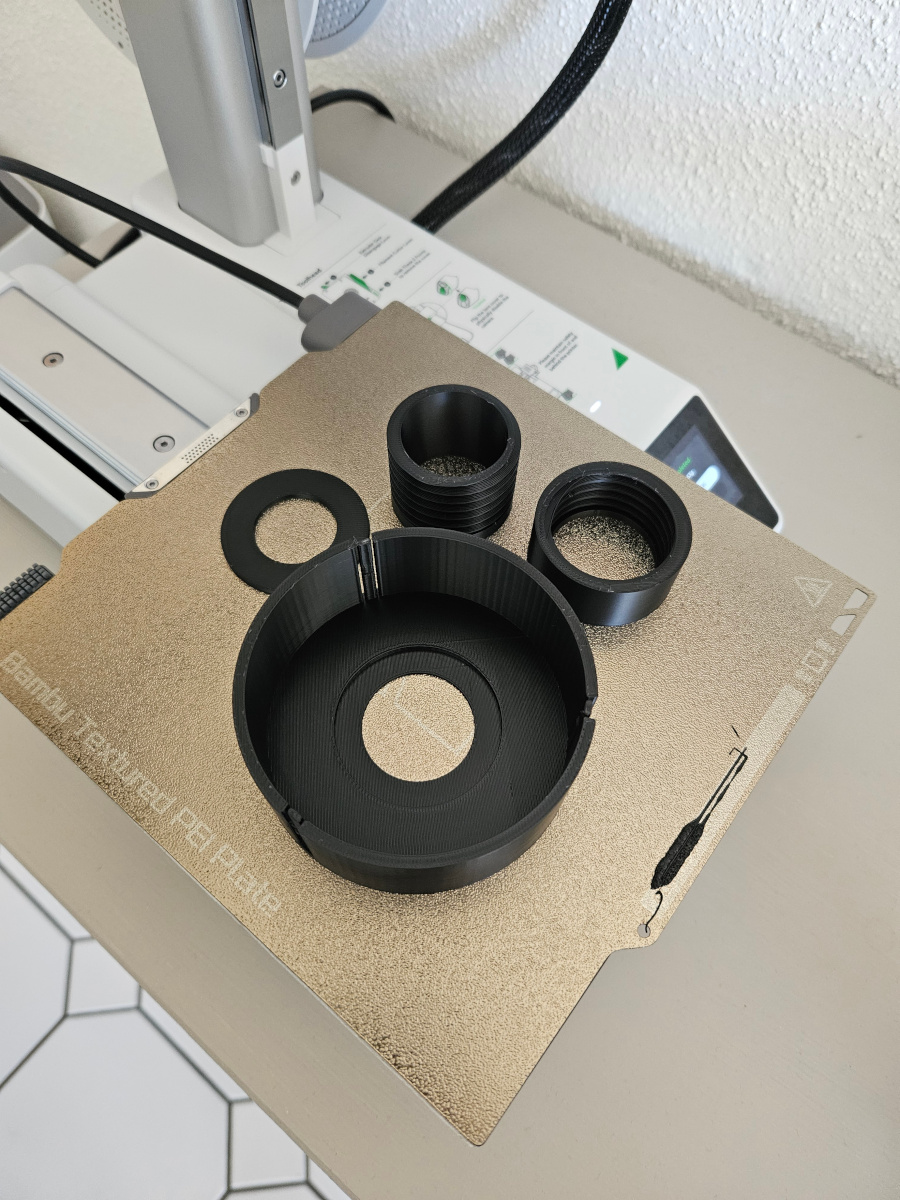
Everything fits perfectly well, I superglued the parts and it is all working as intended. I can place the filters in the filter holder, screw the cap on to prevent them from falling, although, to be fair, the filter holder is very well fitted, the filters will not be falling over even if the cap is not on.
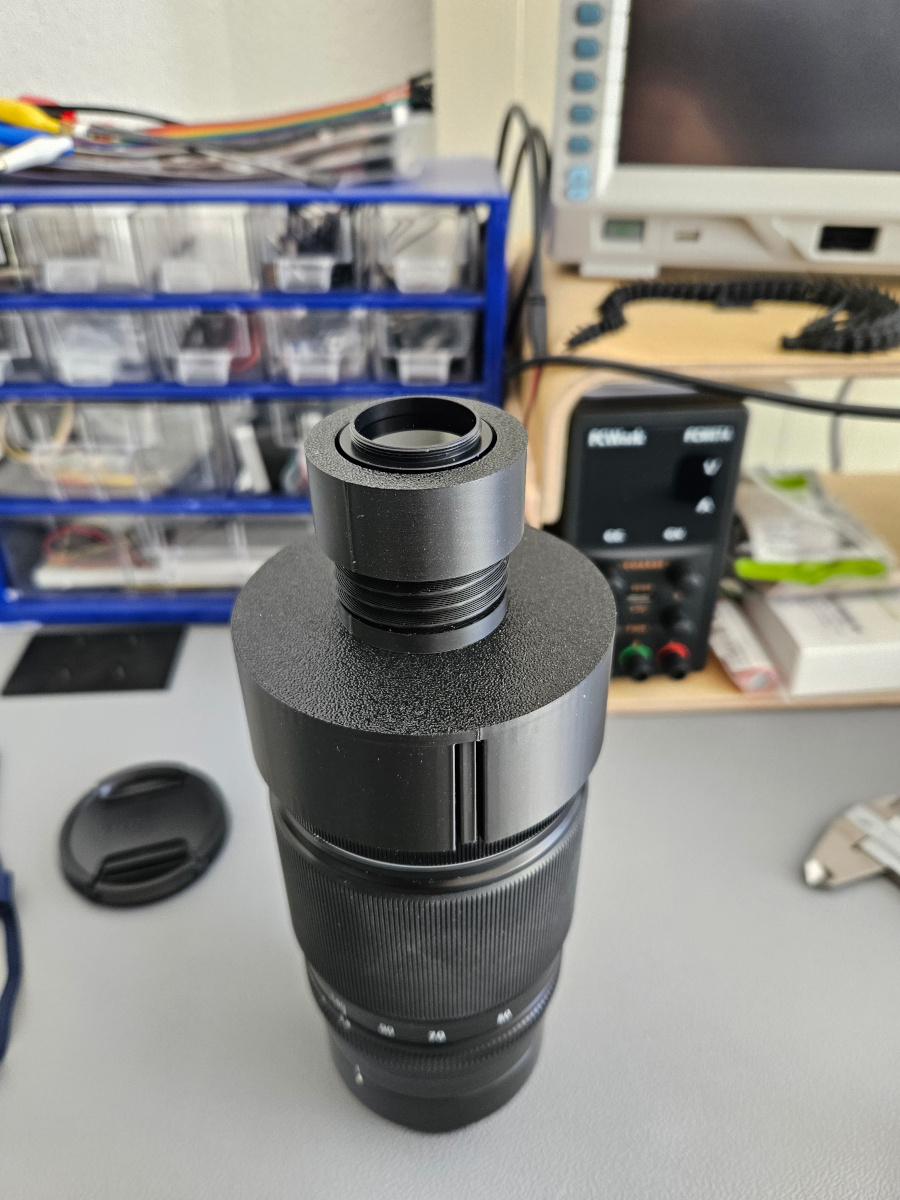
I went outside to do a small test and yes, it works perfectly. I was able to take a picture of the sun with the camera, no problem. I am ready for Wednesday. Just the matter of finding the perfect spot.
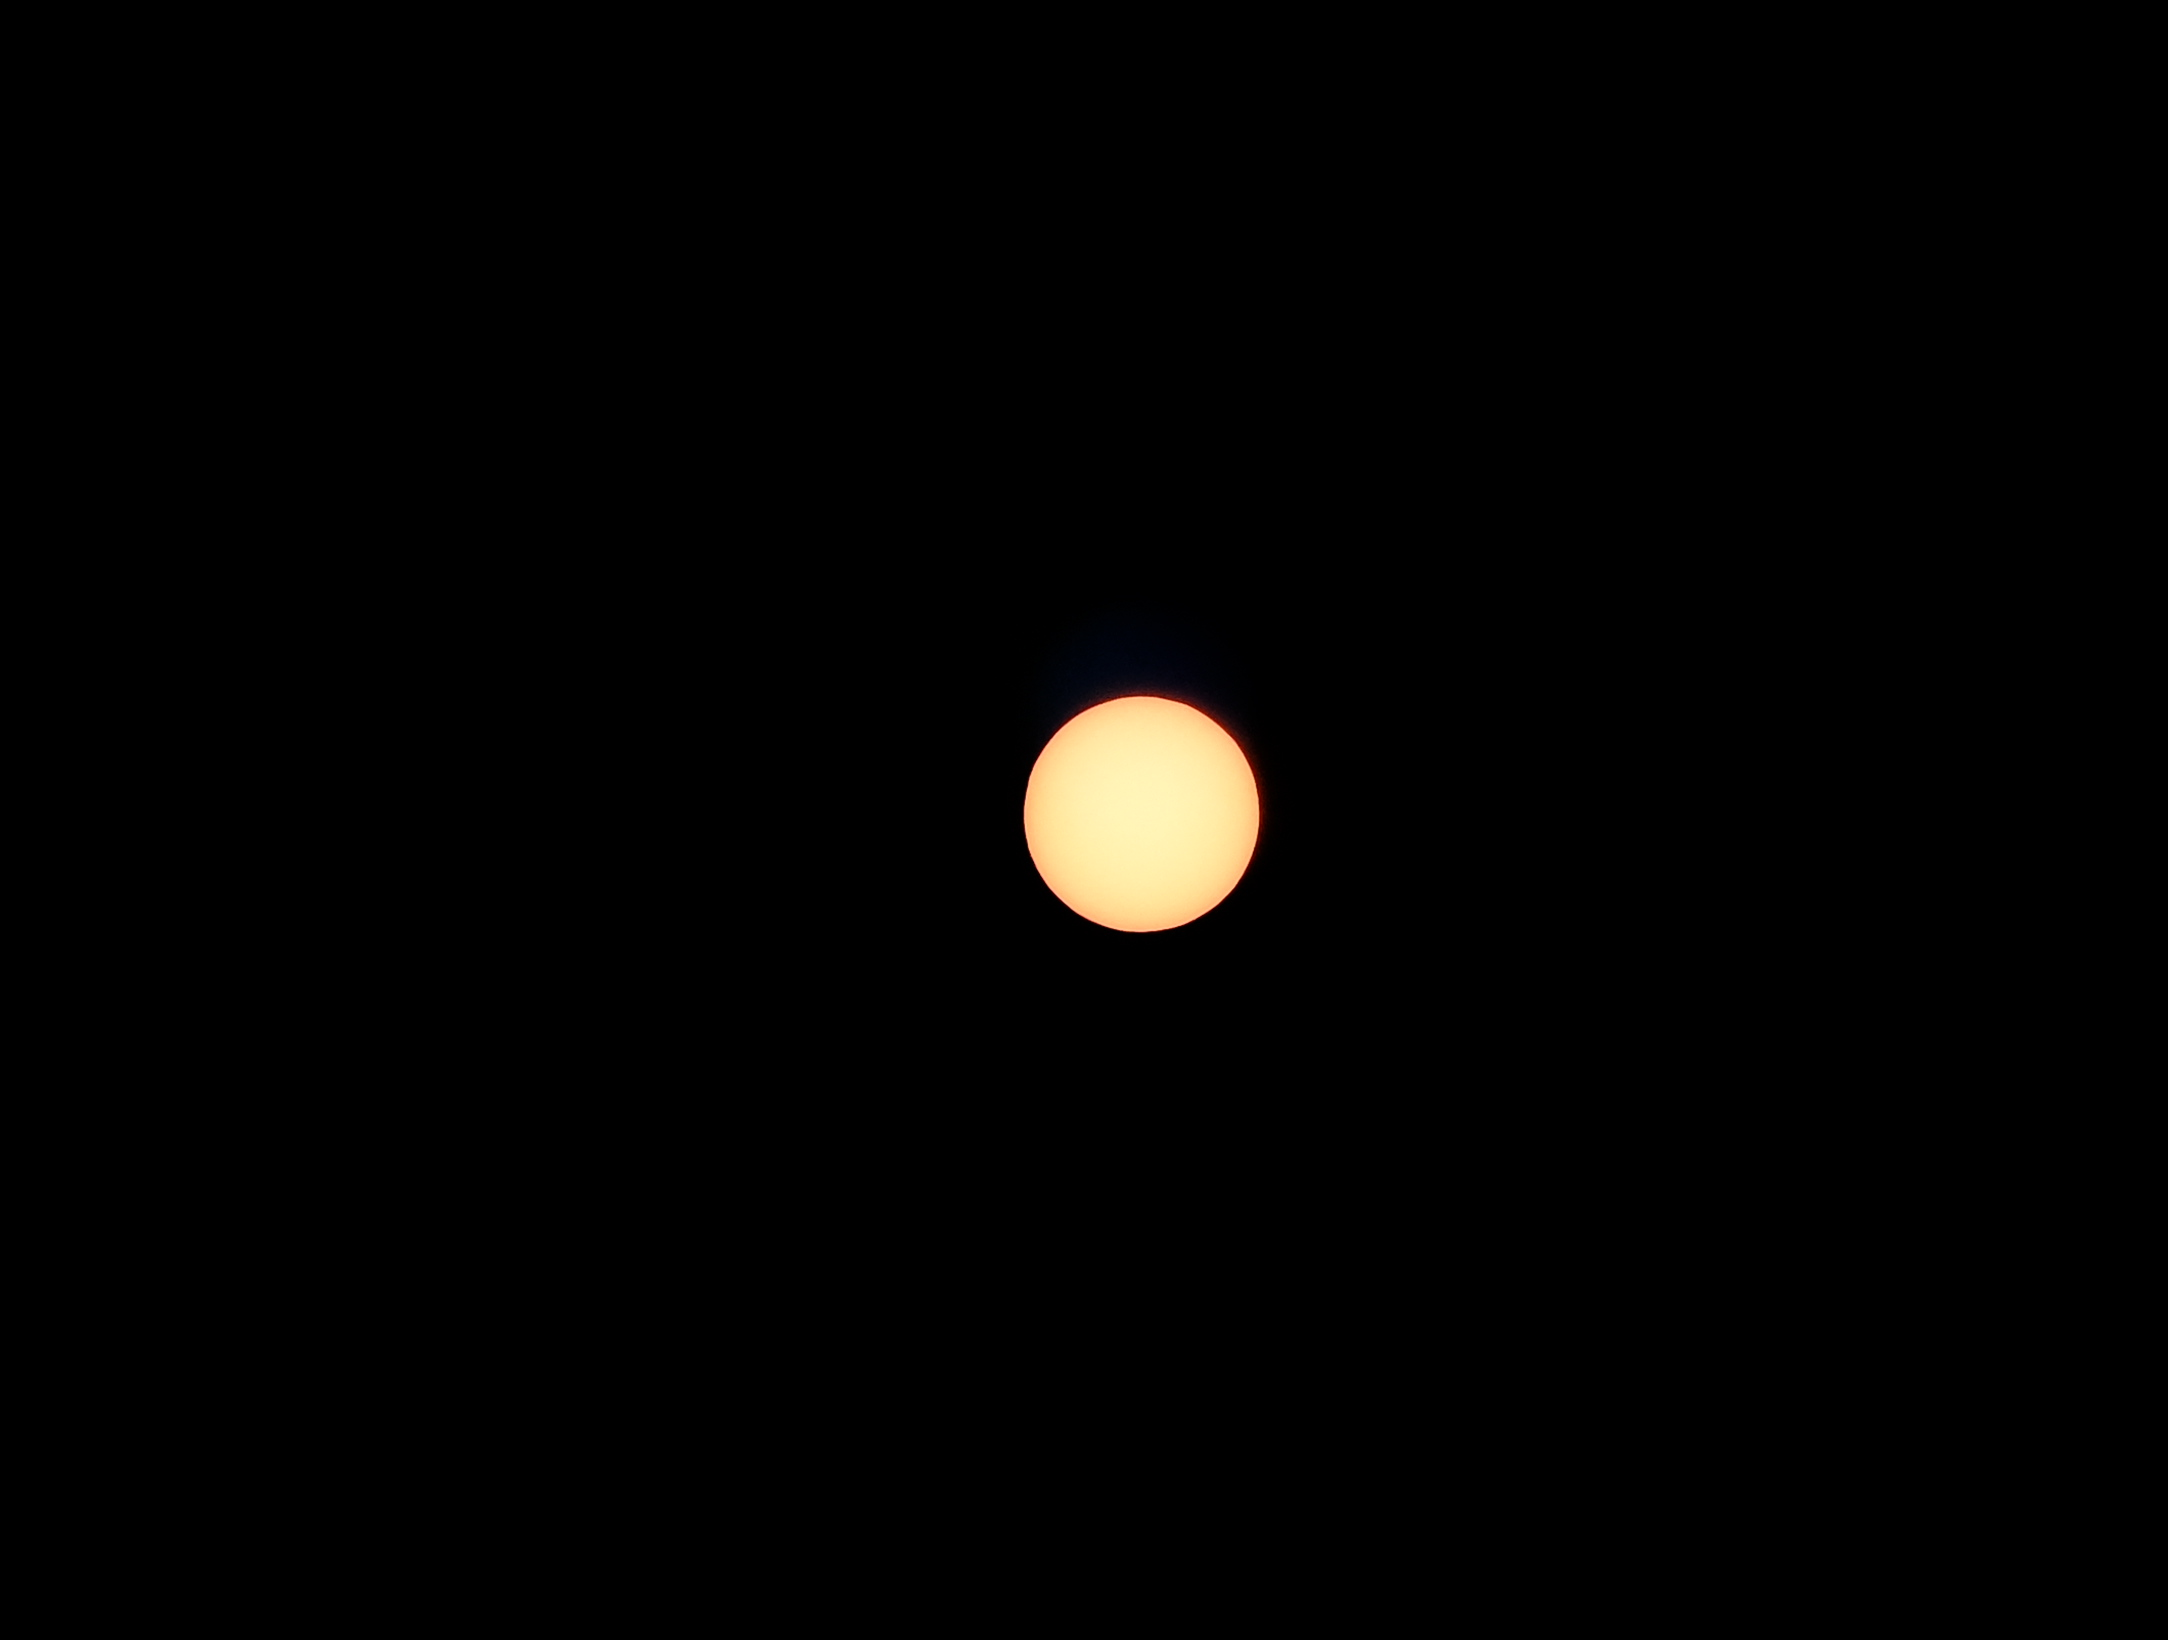
Some of you might ask: "Wait, isn't it a problem that the filter is so small compared to the aperture of the objective? It will block the image?" Well, actually no. It blocks some light from coming in, which, if I was doing to night pictures would be a big problem because every photon counts. Here, the sun is giving more than enough photons. I am already closing the inside aperture of the objective to a tiny f/3, so adding another aperture just in front of the objective is actually doing next to nothing to the image quality. Also because I am imaging something at infinity, the rays from the sun are parallel to each others when they come to my objective. So my focusing point is set very far away, something mm in front of the camera does nothing but reducing the global intensity of the image. It could change the bokeh, and that is what some people do to have more artsy pictures, but this not the case here either because my aperture is still a perfect circle. Anyway, good question.
PS: Eh. I noticed that the cap on the filter holder is actually too small and doesn't hold the filters! Something with the way I designed the little ridge with the threading made it so that it actually wasn't 3mm overhang. No problems, I changed a little the drawing and now it works. No big deal.
Additionally, I found a great site to check the eclipse location and shadows from the terrain: https://eclipsefan.org/